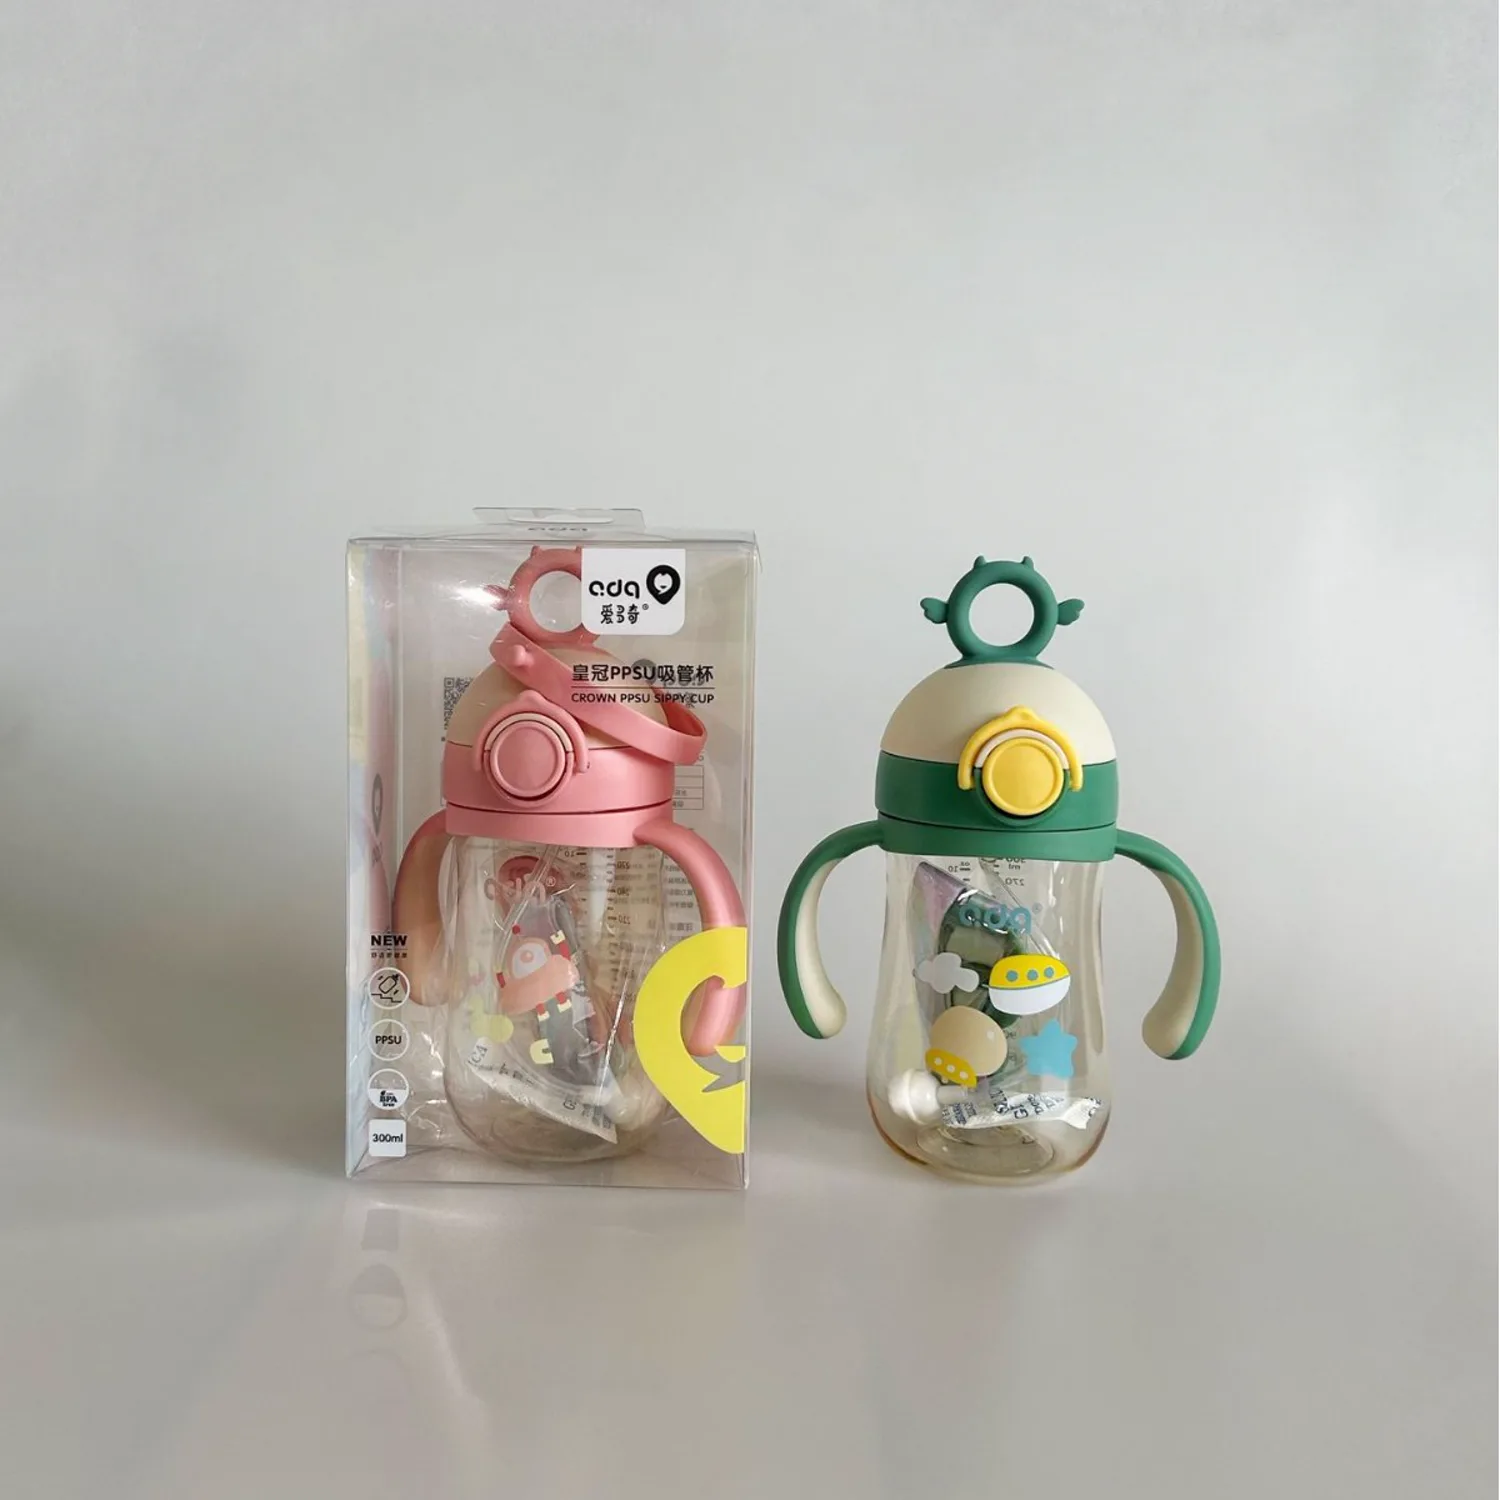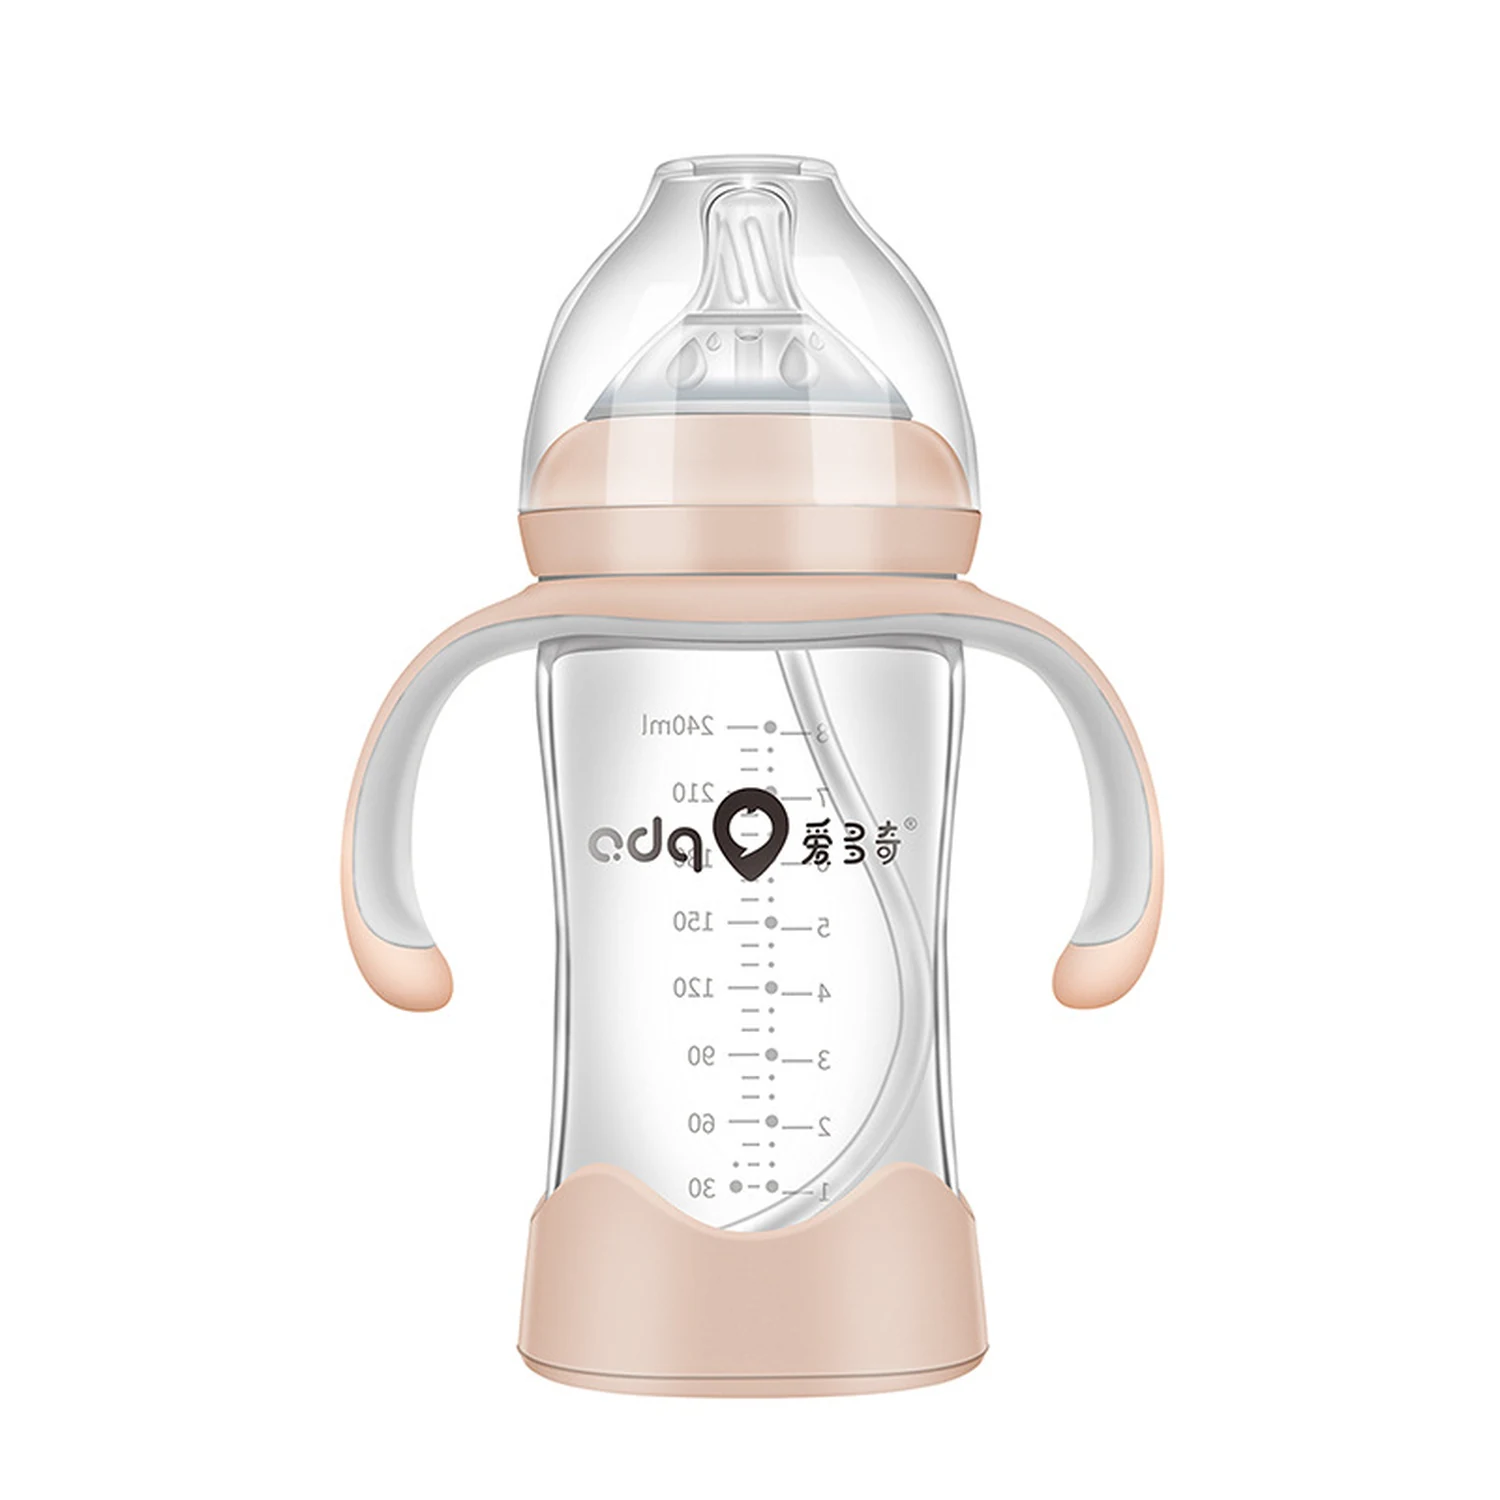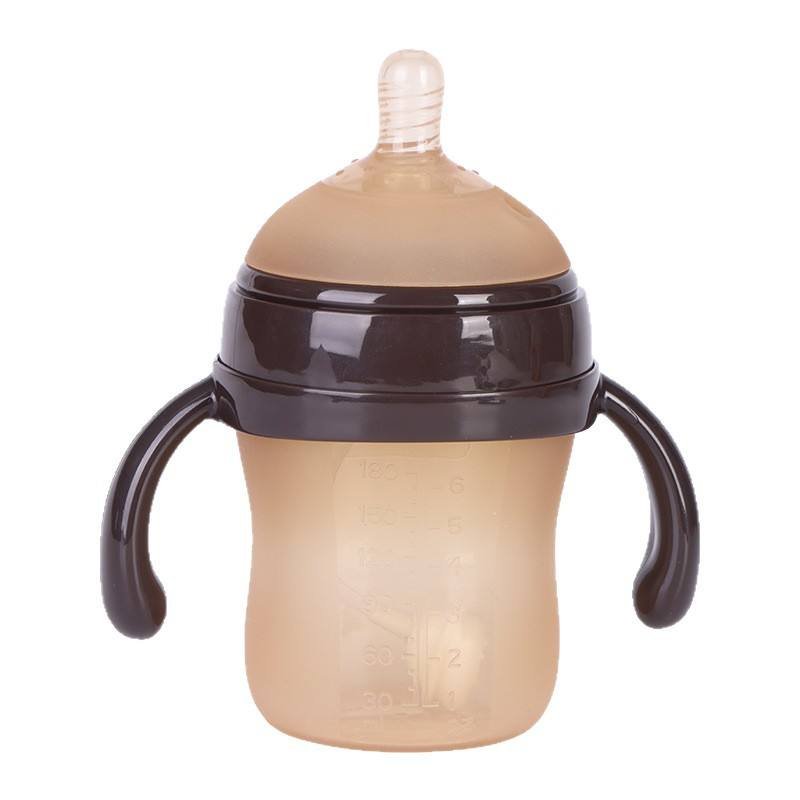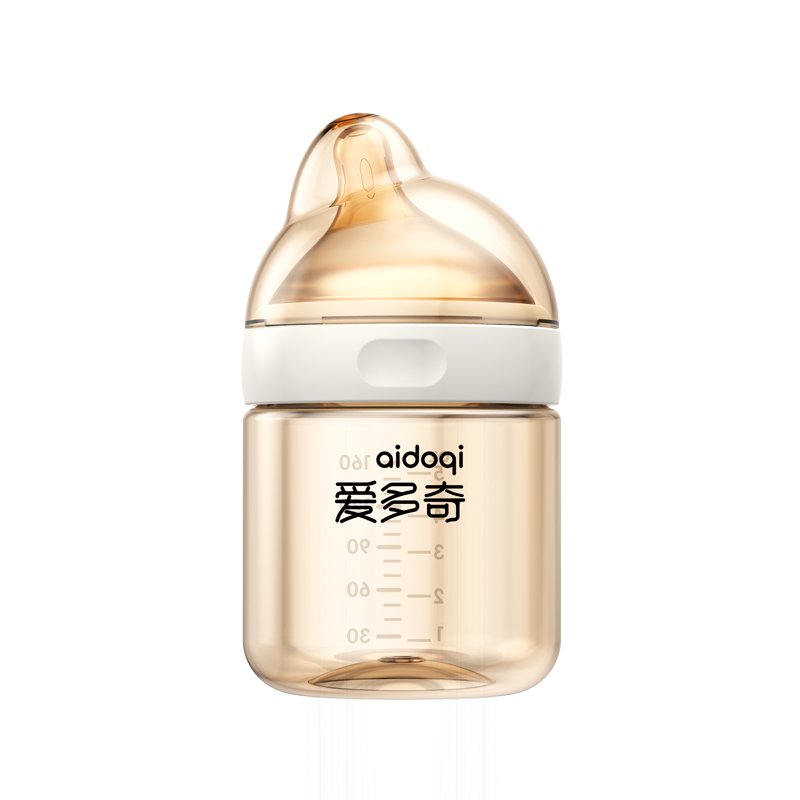
The short answer: A baby bottle OEM project usually moves through a controlled sequence: brief, feasibility review, design and tooling, sample approval, document review, pilot production, inspection, packing, and shipment. The exact sequence varies by product, but approval gates should be written down so the production version does not drift from the approved sample.
Stage 1: Turn the idea into a production brief
Start with a measurable brief. Describe the bottle body, nipple, cap, ring, valve, handles, straw or training parts, decoration, packaging, target market, and expected quantity.
Avoid vague directions such as “premium,” “anti-colic,” or “easy to clean” unless they are translated into design requirements and evidence. For example, “premium packaging” could mean a particular carton structure, insert, print finish, barcode area, and drop-test expectation.
Stage 2: Check feasibility before tooling
The supplier should review the design for moulding, assembly, tolerances, cleaning access, decoration, and packing. Ask which features require new tooling and which can use an existing platform.
The Aiduoqi materials archive includes product information for bottle and training products, including PPSU, PP, glass, straw, and cup-related items. These materials can help frame a product discussion, but a catalogue image is not a technical approval. Confirm the exact model, construction, and available customization before using it as a project reference.
Stage 3: Define components and responsibilities
Create a bill of materials. List every customer-facing component and its revision. Include the bottle, nipple, collar, cap, valve or straw parts, handles, printing, labels, carton, insert, and master carton.
For each item, record the responsible supplier, material statement, colour, dimensions, and inspection method. This is especially important where a report covers only one component or where an accessory is sourced separately.
Stage 4: Approve samples and artwork
Sample approval should cover both the physical product and the customer-facing presentation. Review fit, leakage, markings, print position, opening and closing force, packaging dimensions, instructions, and warnings.
Keep the approved sample or a clear reference record. If artwork, material, supplier, or tooling changes later, treat the change as a new revision and decide whether another sample or test review is needed.
Stage 5: Match testing to the market and claim
Testing should answer a specific question. A food-contact report, for instance, may concern particular materials or components. A certificate or report should be checked for the tested sample, model number, standard, laboratory, date, and scope.
The local Aiduoqi archive contains named FCM reports for baby PPSU, PP, and glass bottle materials, plus CE/CPC-related files and laboratory documents. The presence of those files confirms that relevant documentation exists in the archive; it does not, without page-level review, prove that every model or market is covered.
Stage 6: Pilot production and process checks
Before mass production, ask how the pilot run will be checked. Useful checkpoints include first-piece approval, component fit, appearance, dimensional sampling, leak checks, print verification, packing count, and carton identification.
The inspection plan should identify what happens when a sample fails. A clear nonconformance process is more useful than a general promise of “strict quality control.”
Stage 7: Packing and shipment release
Packing is part of the product. Confirm inner protection, carton count, labels, barcodes, pallet or carton marks, and shipment documentation. Glass products may require additional protection and handling controls; the final packaging should be reviewed with the actual bottle and logistics route.
A practical OEM approval gate
Do not release production until these items agree:
- Approved drawing or specification
- Approved sample and revision
- Confirmed bill of materials
- Relevant test-document scope
- Approved artwork and packaging
- Inspection and release plan
- Written quantity and schedule
Final takeaway
OEM manufacturing becomes easier to manage when every stage has a defined input and approval output. The goal is not to create paperwork for its own sake. The goal is to keep the product, evidence, packaging, and production version aligned from the first brief to the shipped order.
Frequently asked questions
How long does baby bottle OEM production take?
It depends on tooling, sample revisions, testing, artwork approval, quantity, and production capacity. Ask when the lead-time clock starts and what events can pause it.
Can I customize an existing bottle platform?
Often, yes, but the available options depend on moulds, components, decoration, packaging, and minimum quantities. Confirm each option in writing.
Is a product sample enough to start mass production?
Not by itself. Pair the sample with the specification, component list, artwork, document scope, and inspection plan.